Roof Replacement Basics Explained
Replacing your roof is a big project, but when you know what to expect, you can approach it with total confidence. No matter where you live in the United States, the roof replacement process generally follows the same steps.
Free. No obligation. No credit card required. Just enter your home address to get started.

Roofs measured by our roofing calculator in the United States
Average roof replacement cost for an asphalt roof in the United States
Highly rated roofers in the United States
Signs You Need a New Roof
When I first noticed a small water stain on my bedroom ceiling, I didn’t think much of it - maybe just an isolated leak, I thought. But over time, I started to see more warning signs that my roof was on its last legs. If you’re in a similar situation, here are some red flags I learned to look for:
- Curled or Cracked Shingles: Extreme temperature changes, strong winds, or simple wear and tear can cause shingles to curl upward or crack. If you see these deformations on a wide section of your roof, it’s a good indication those shingles aren’t protecting your home as well as they should.
- Missing Shingles: Shingles that have completely blown off or gone missing expose the underlayment and can allow moisture to seep into your home. After a storm, it’s always a good idea to inspect your roof and yard for any stray shingles.
- Excessive Granule Loss: If you’re finding granules - those small, sand-like particles - piling up in your gutters, that’s a clear sign your shingles are deteriorating. Granules are crucial for deflecting UV rays, so their loss can leave your roof vulnerable to faster aging.
- Leaks and Water Damage: Water stains on your ceiling or walls are often the earliest clues. Even a tiny drip can hint at bigger problems, like compromised underlayment or poor flashing around vents and chimneys.
- Sagging or Dips: A roof that sags in certain areas may have structural damage beneath the shingles. This issue usually points to weakened decking or even waterlogged support beams, both of which need immediate attention.
- Age of Your Roof: Most roofs have a recommended lifespan of about 20 to 30 years, depending on the materials used. If your roof is creeping up on that age or has surpassed it, take a closer look. Even if there aren’t glaring problems now, older roofs are much more susceptible to damage.
If you spot one or more of these warning signs, it’s probably time to consider replacing your roof. Trust me, addressing potential roof issues sooner rather than later can save a lot of stress (and money) down the road.

Repairing Vs. Replacing Your Roof
When a Repair Might Suffice
If you only have a handful of missing or damaged shingles, or if you spot a small leak that can be traced back to a specific area, a targeted repair job could do the trick. Small, localized problems are often easy to fix, especially if the rest of your roof is still structurally sound and under its typical lifespan.
When Replacement Is the Better Option
On the other hand, if your roof is nearing 20 years or more, or if you notice widespread shingle deterioration - think curling, cracking, or bald spots all over - it might be time to consider replacing the entire thing. In my own experience, I found out that repeated repairs can add up quickly, and they don’t always hold up in severe weather. A complete replacement can be more cost-effective over the long haul, especially if you’re dealing with recurring leaks or structural concerns like sagging.
At the end of the day, the best approach often comes down to cost, safety, and how long you plan to stay in your home. If repairs seem never-ending and your roof is near the end of its life anyway, a new roof can give you peace of mind (and maybe even a little boost in home value). If you’re on the fence, consider getting a professional inspection to lay out all your options.

The Roof Replacement Process
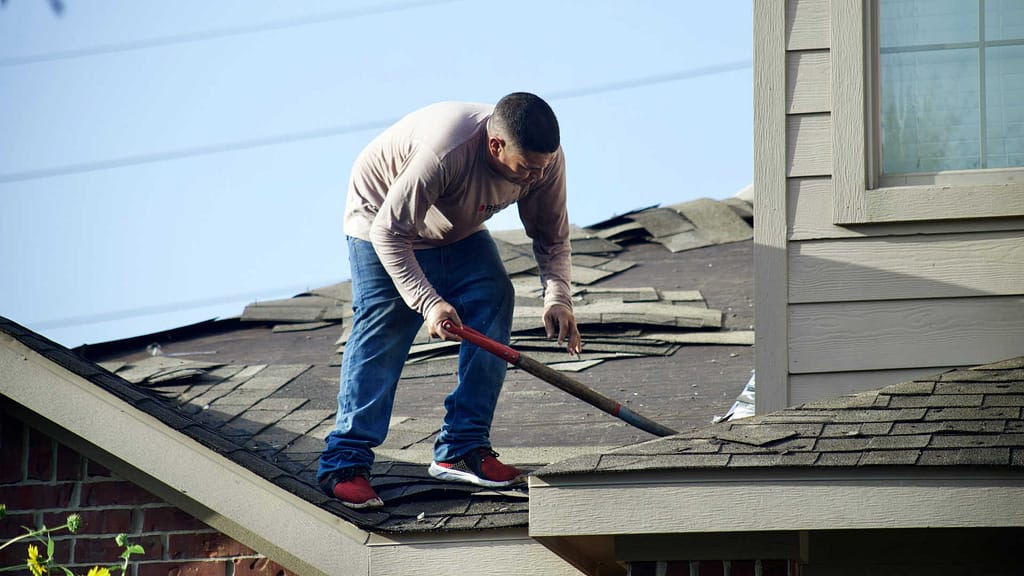
When I finally decided it was time to replace my old, worn-out roof, I’ll admit - I was a little intimidated by the idea. But once I understood the process, it all felt much more manageable. Here’s how it typically goes:
1. Initial Inspection and Estimate
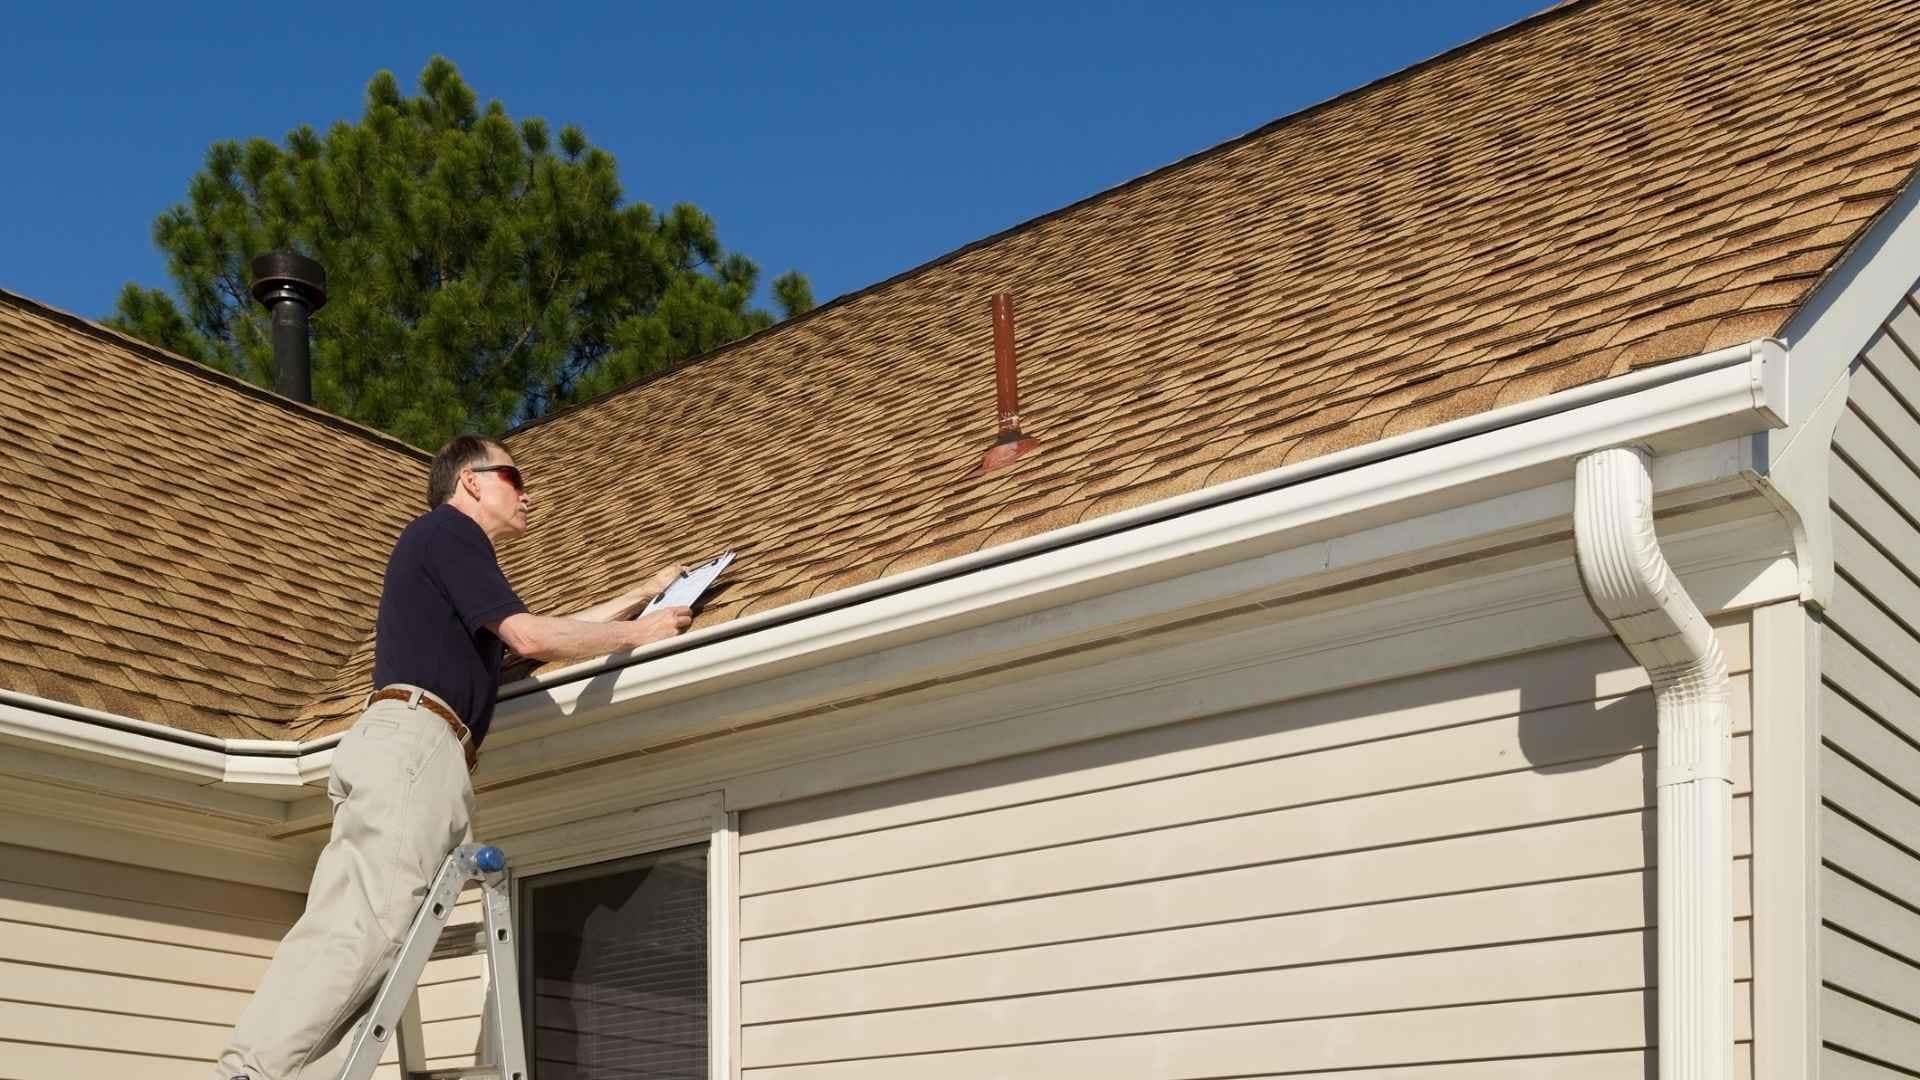
I started by reaching out to a local roofing contractor for a thorough roof inspection. They climbed up there, checked everything from shingle condition to decking integrity, then walked me through my options. I got a detailed estimate that gave me a ballpark figure for both materials and labor.
2. Choosing Materials
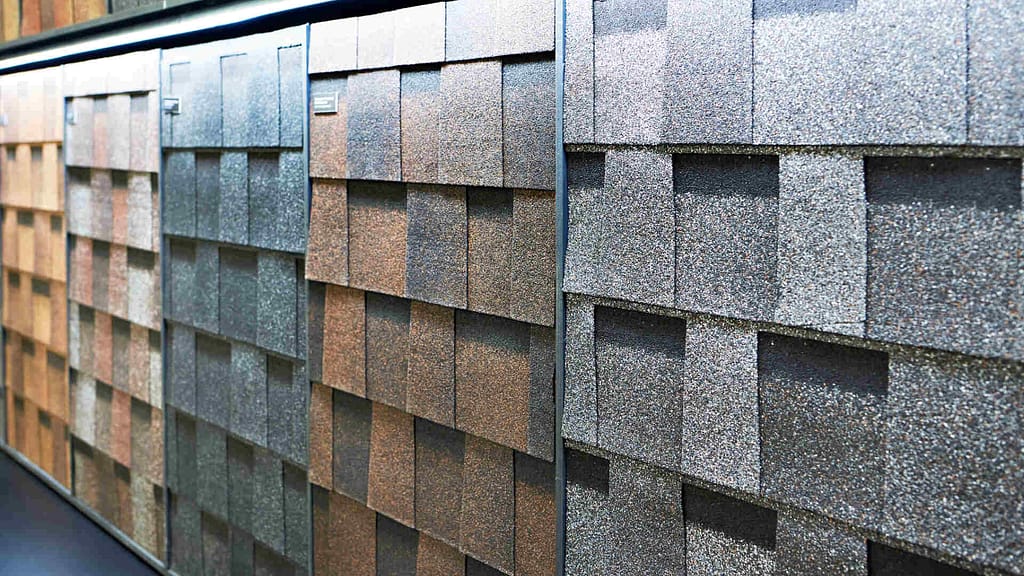
Next came the fun part, picking out new shingles. There’s a lot to consider, like durability, color, style, and your budget. Asphalt shingles are popular and budget-friendly, but there are also premium options like metal or tile if you’re looking for something extra durable (or with a specific aesthetic).
3. Scheduling and Prep Work
Once I settled on the materials, we nailed down a start date. Before the crew arrived, I made sure my driveway and yard were clear, and I moved any fragile garden decorations to a safe spot. It might sound like a small thing, but a clean workspace makes life easier for everyone.
4. Removing the Old Roof
On day one, the crew got to work tearing off the old shingles and underlayment. This can get noisy and a bit messy, but a good roofing company will use tarps and proper disposal methods to keep debris under control.
5. Inspecting and Repairing the Decking
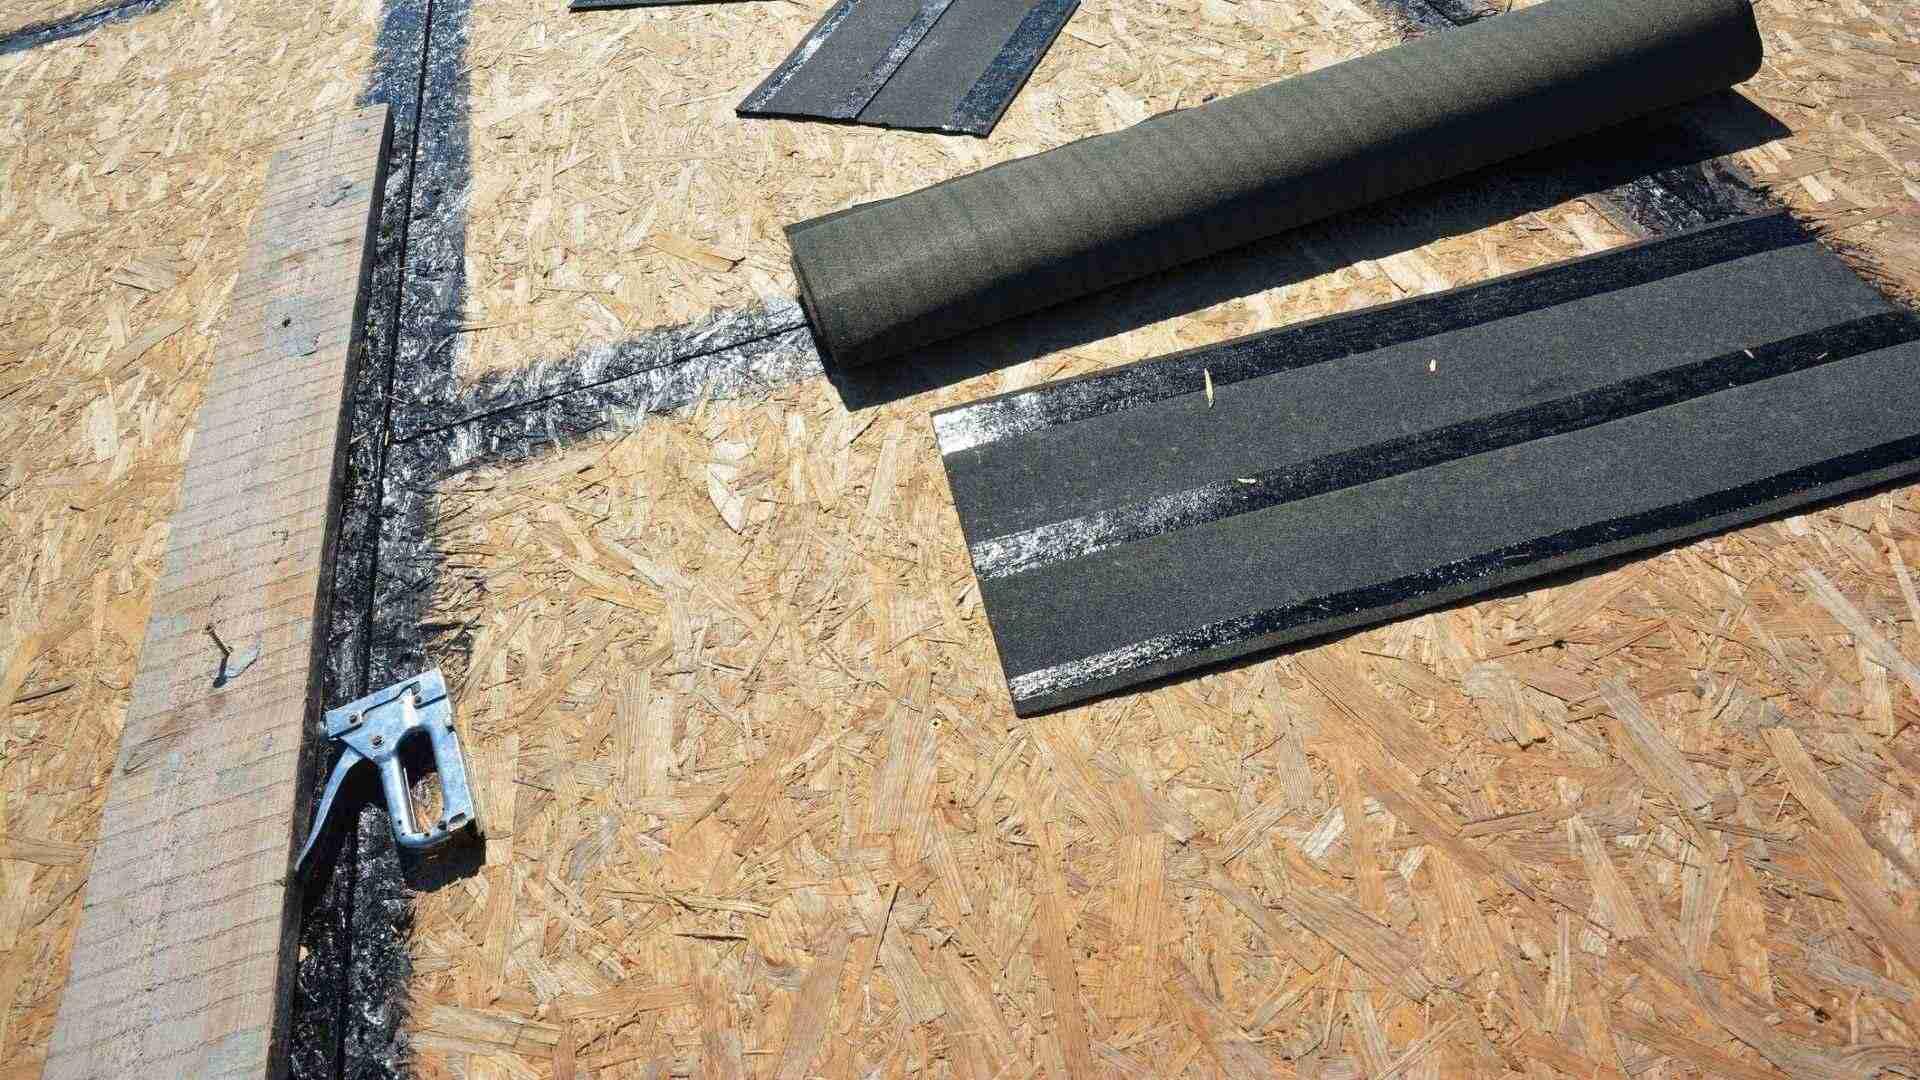
With the old roofing stripped away, the next step was checking the plywood decking underneath. If they find any rotted or damaged sections, it’s best to replace them now, no sense putting brand new shingles over compromised wood.
6. Installing Underlayment and Flashing
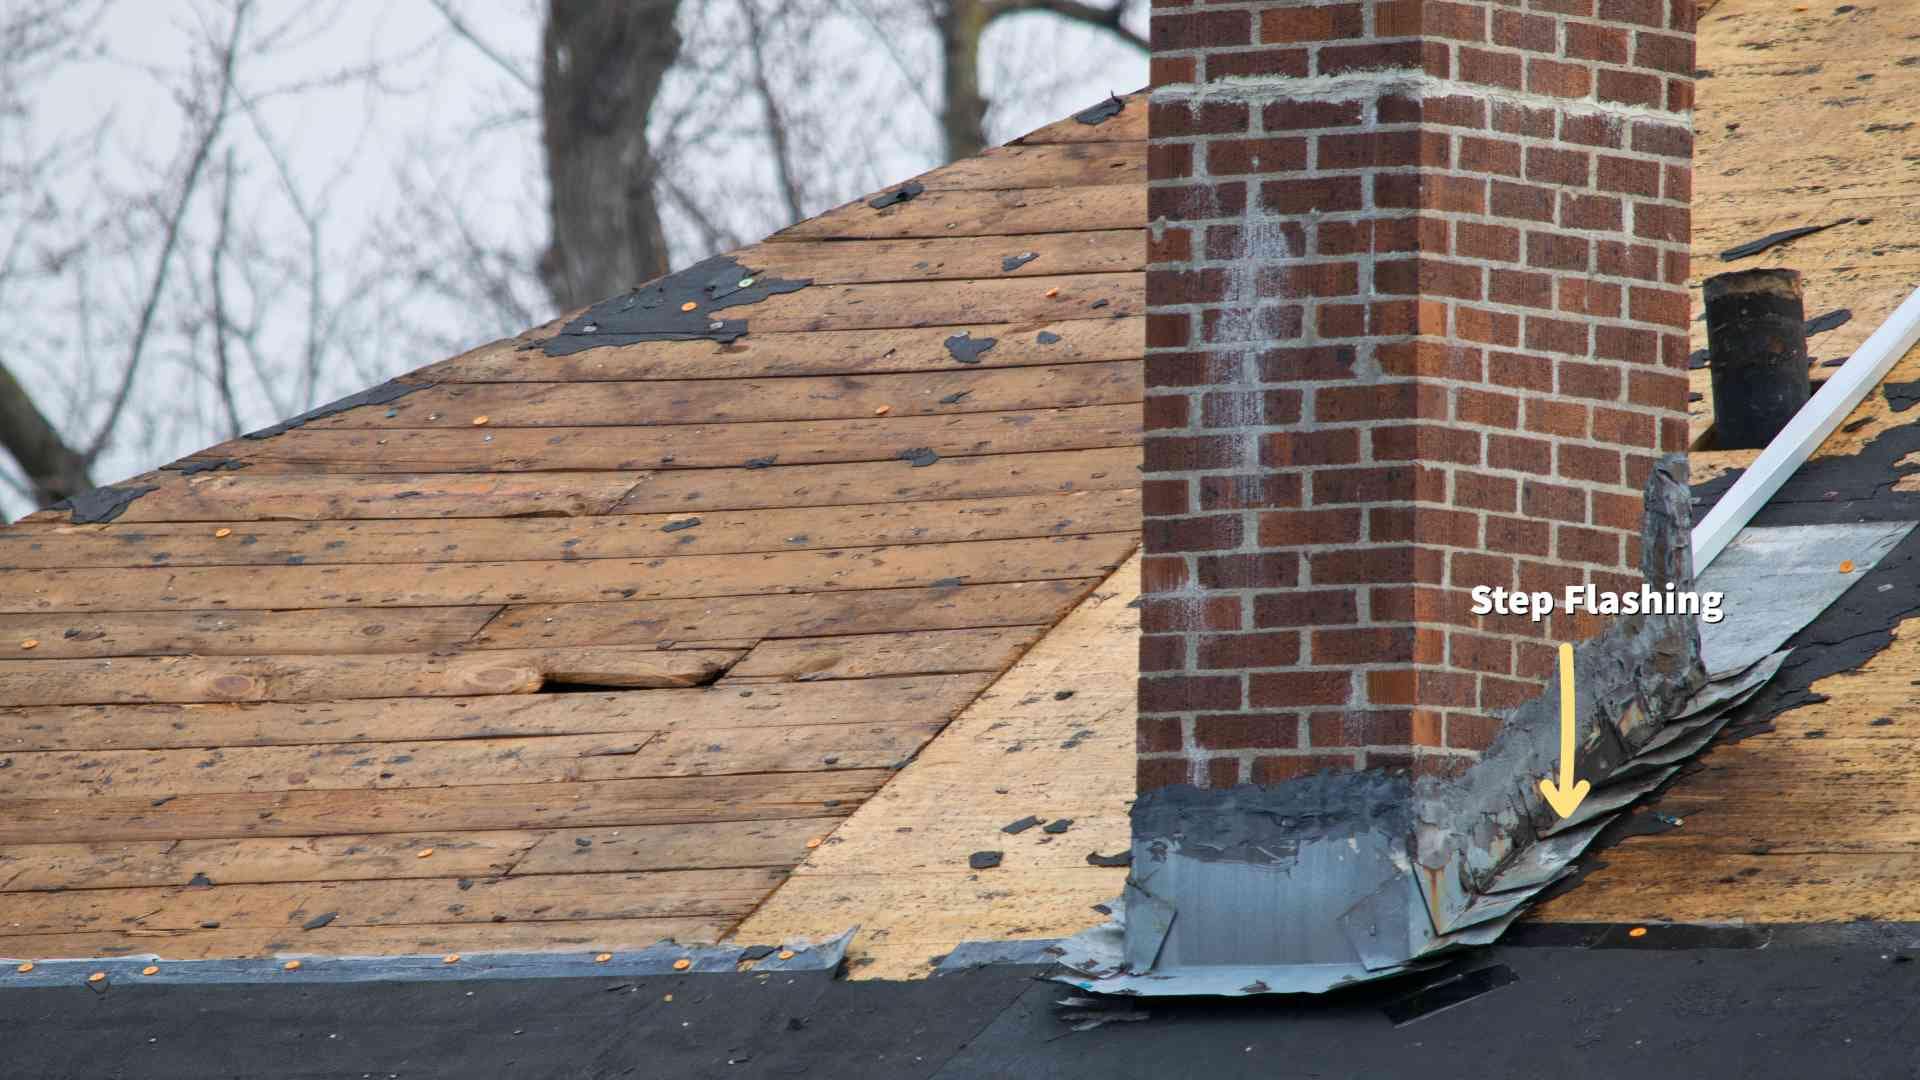
After the decking was confirmed solid, they installed the underlayment (often synthetic felt these days) to provide an extra layer of moisture protection. Flashing around chimneys, vents, and valleys is also crucial to prevent leaks in those high-risk areas.
7. Laying Down the New Shingles
The crew then carefully laid down rows of new shingles, making sure everything lined up properly and had the right overlap. This step not only gives your roof that fresh look, but it’s also the main barrier against the elements.
8. Cleanup and Final Inspection
Finally, the roofing crew did a full cleanup, picking up any stray nails and scraps. A reputable contractor won’t consider the job done until they inspect their work (and until you’re happy with it, too).
From start to finish, the entire process can take anywhere from a couple of days to a week or more, depending on your roof’s size and complexity. If you’re considering a roof replacement, knowing these steps ahead of time can help you feel more prepared and in control. After all, it’s a big investment, and it’s nice to know exactly what you’re getting into.
Understanding Roof Replacement Costs
If you’re a homeowner wondering whether you need a new roof, it’s vital to understand how roof replacement expenses are determined. The roof replacement cost can vary based on several factors - including local labor rates, cost of living, interest rates, and the complexity or steepness of your roof pitch. Even the type of roofing material you choose can have a big impact: asphalt shingles, metal, clay, slate, shake, concrete, and copper all differ in durability, lifespan, and expense. Keep in mind that a typical roof with a steeper pitch often requires more labor to install, which can increase labor costs.
Factors Affecting the Overall Cost
In addition to materials, the overall cost of a new roof depends on square footage, the need for removal of old roofing shingles, and any required minor repairs for damage - such as a leak, moisture issues, or cracked plywood underlayment. If you need to repair or replace components like your chimney or skylight, you’ll see a corresponding rise in your quote. These added tasks can be costly when factoring in both labor and materials. And don’t forget about local regulations: You might need a permit, which could include an additional fee.
Localized Cost Data and Estimates
Because roof replacement prices vary from one region to another, we built a public API that tracks roof replacement cost information across the United States. This helps you see the average cost in your area, down to your state and ZIP code. We also break it down by tile, metal, asphalt shingles, slate, and other materials so you can compare options. Our website publishes all this data, making it easy to understand how cost of living and weather conditions might affect labor or payment structures.
If you’re simply looking for a quick estimate, try our roof replacement cost calculator. By entering basic details, like your home’s address, you’ll receive an instant estimate. The calculator considers removal fees, sheathe work (like replacing plywood), and the labor needed to install new shingles. This real-time data makes it easier to budget, plan, and avoid surprises when you hire a contractor or roofing contractors.
Choosing the Right Roofer or Contractor
Before committing to a roofer, remember to compare multiple contractor bids and ask about warranty coverage. A reliable professional will assess whether you truly need a new roof or if minor repairs might suffice. They’ll also handle debris removal, address attic ventilation, and recommend ways to prevent future moisture damage. This kind of thorough approach is key to a successful home improvement or remodeling project, and it can give you peace of mind that you’re getting a fair overall cost.
Plan for Long-Term Value
A new roof not only protects your home from leaks and weather-related damage, but it can also boost curb appeal for any future buyer. Whether you choose metal, clay, or synthetic roofing shingles, understanding the typical roof lifespan, warranty options, and ongoing maintenance requirements will help you make an informed decision. By factoring in labor expenses, potential permit fees, and the steepness of your roof, you’ll get a realistic view of the roof replacement cost. Equipped with this knowledge and a clear estimate, you can move forward confidently - knowing you’ve considered every variable from payment details to debris disposal.

Roof Replacement Time
When I replaced my roof last summer, one of my biggest questions was: “How long is this going to take?” The truth is, the timeline can vary based on everything from weather to how complex your roof’s design is. Still, the type of roofing material you choose makes a big difference:
- Asphalt Shingles: Usually the quickest to install, think one to three days for an average-sized home.
- Metal Roofing: A bit more involved than asphalt, so you might be looking at about three to five days.
- Clay or Concrete Tile: These can be heavy and require specialized installation, so don’t be surprised if it takes a week or more.
- Wood Shingles or Shakes: Comparable to tile in terms of time. They can be fiddly to install, so you’re generally looking at around a week.
Ultimately, your roofing contractor can give you a better idea of the exact timeline once they factor in details like roof pitch, overall square footage, and any hidden damage that needs fixing. Knowing these rough estimates can help you plan for the days ahead, especially if you need to work from home or coordinate with family schedules during the installation.
Roofing Permits and Regulations
In most places across the country, you’ll likely need a permit before starting any major roofing project. The requirements usually include everything from proof of a contractor’s license to detailed plans for how you plan to tear off and install your new roof.
Florida’s Strict Building Codes
Take Florida, for example. Given the state’s history with hurricanes, Florida enforces some of the toughest roofing codes in the nation. After significant storms, local authorities often revise regulations to ensure materials and installation methods can stand up to extreme winds. If you’re anywhere along the coast, like Miami-Dade or Palm Beach counties, you’ll find that wind resistance ratings play a huge role in what’s considered “up to code.”
Variations Across the United States
Elsewhere in the U.S., the rules can differ drastically. Some municipalities only require permits for complete roof replacements, while others also demand them for substantial repairs. In certain fire-prone regions, like parts of California, you might be required to use fire-resistant materials such as Class A shingles or metal. Meanwhile, in states with colder climates, local codes often mandate ice and water shield installations near eaves and valleys.
General Tips for Navigating Permits
- Check Local Requirements Early: Before you even schedule a contractor, call your city or county building department to confirm what’s needed.
- Hire Licensed Professionals: Many states and counties require licensed contractors to pull permits. This extra step helps ensure your new roof meets local safety standards.
- Budget for Permit Fees: Permit costs vary but can add to your overall project price. It’s smart to factor that into your budget from the start.
- Stay in the Loop: After the roof is done, some areas require a final inspection. Make sure you or your contractor arranges that promptly to avoid any hiccups down the road.
A roofing project is a big undertaking, and adhering to your area’s permit and regulation guidelines is crucial for both safety and peace of mind. If you’re unsure, a quick conversation with your local building department or a trusted roofing professional can clear up a lot of questions right at the outset.

Choosing the Right Roofing Material
After you confirm that a roof replacement is in order, the next step is choosing the material. Modern roofing offers a wide array of options, including:
- Dimensional (architectural) shingles for improved curb appeal
- Wood shakes for a rustic, traditional look
- Metal roofing for durability and low maintenance
- Clay or concrete tiles for exceptional longevity and style
- Solar Roof for the ultimate in durability while generating clean green energy.
Your location, budget, and design preferences all play a role in determining the best fit for your roof replacement.
Get Your Free Instant Roof Estimate Today!
Homeowners Insurance and Roof Replacement
In many cases, policies do help pay for roof replacements - particularly if the damage is sudden and unexpected (think storms, hail, or falling tree branches). But the coverage specifics can vary based on your policy and the roof’s age.
Key Points to Consider
- Deductibles: You’ll generally need to pay a deductible before your coverage kicks in, so factor that into your total project cost.
- Depreciation: Some policies account for the age of your roof when calculating how much they’ll cover, meaning you might get reimbursed less if your roof is already several years old.
- Documentation: Taking photos and keeping records of any inspections or repairs can make the claims process smoother.
- Policy Requirements: Some insurers might require routine maintenance or inspections to keep coverage valid. Neglecting regular upkeep can put your claim at risk.
If you’re unsure about your specific coverage details, it’s always a good idea to review your policy or give your insurance agent a call. That way, if -and when - damage happens, you’ll know exactly what to expect.
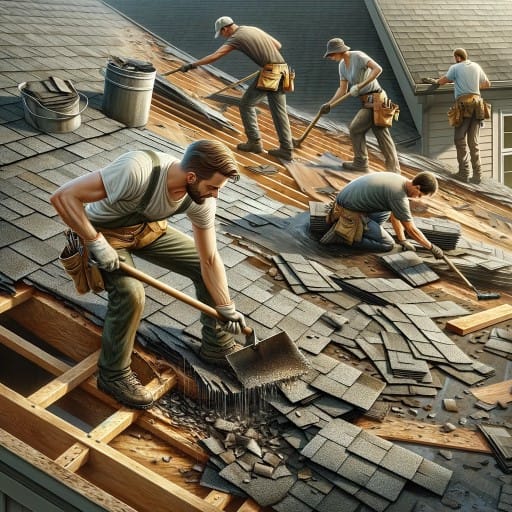
DIY Roof Replacement Vs. Hiring Contractors
DIY Advantages
- Cost Savings: One of the biggest draws to going the DIY route is cutting out labor costs. If you already have some tools on hand, you might save a decent chunk of change.
- Personal Satisfaction: There’s no denying that completing a major home improvement project on your own can be incredibly rewarding. If you enjoy hands-on work, the challenge might be right up your alley.
DIY Disadvantages
- Safety Concerns: Working at heights with power tools can be risky, especially if you don’t have much roofing experience.
- Skill and Time: A proper roof replacement requires careful planning, knowledge of building codes, and a meticulous installation process. A DIY project can quickly stretch from a weekend job into a multi-week endeavor if you run into surprises.
- Warranty Issues: Many roofing materials only offer full warranties if a licensed professional completes the installation.
Finding the Right Roofing Contractor
With so many options, it’s easy to get lost in a maze of online reviews and conflicting quotes. That’s one reason we created Instant Roofer: to help homeowners cut through the noise and find a quality contractor more easily.
How Instant Roofer Helps
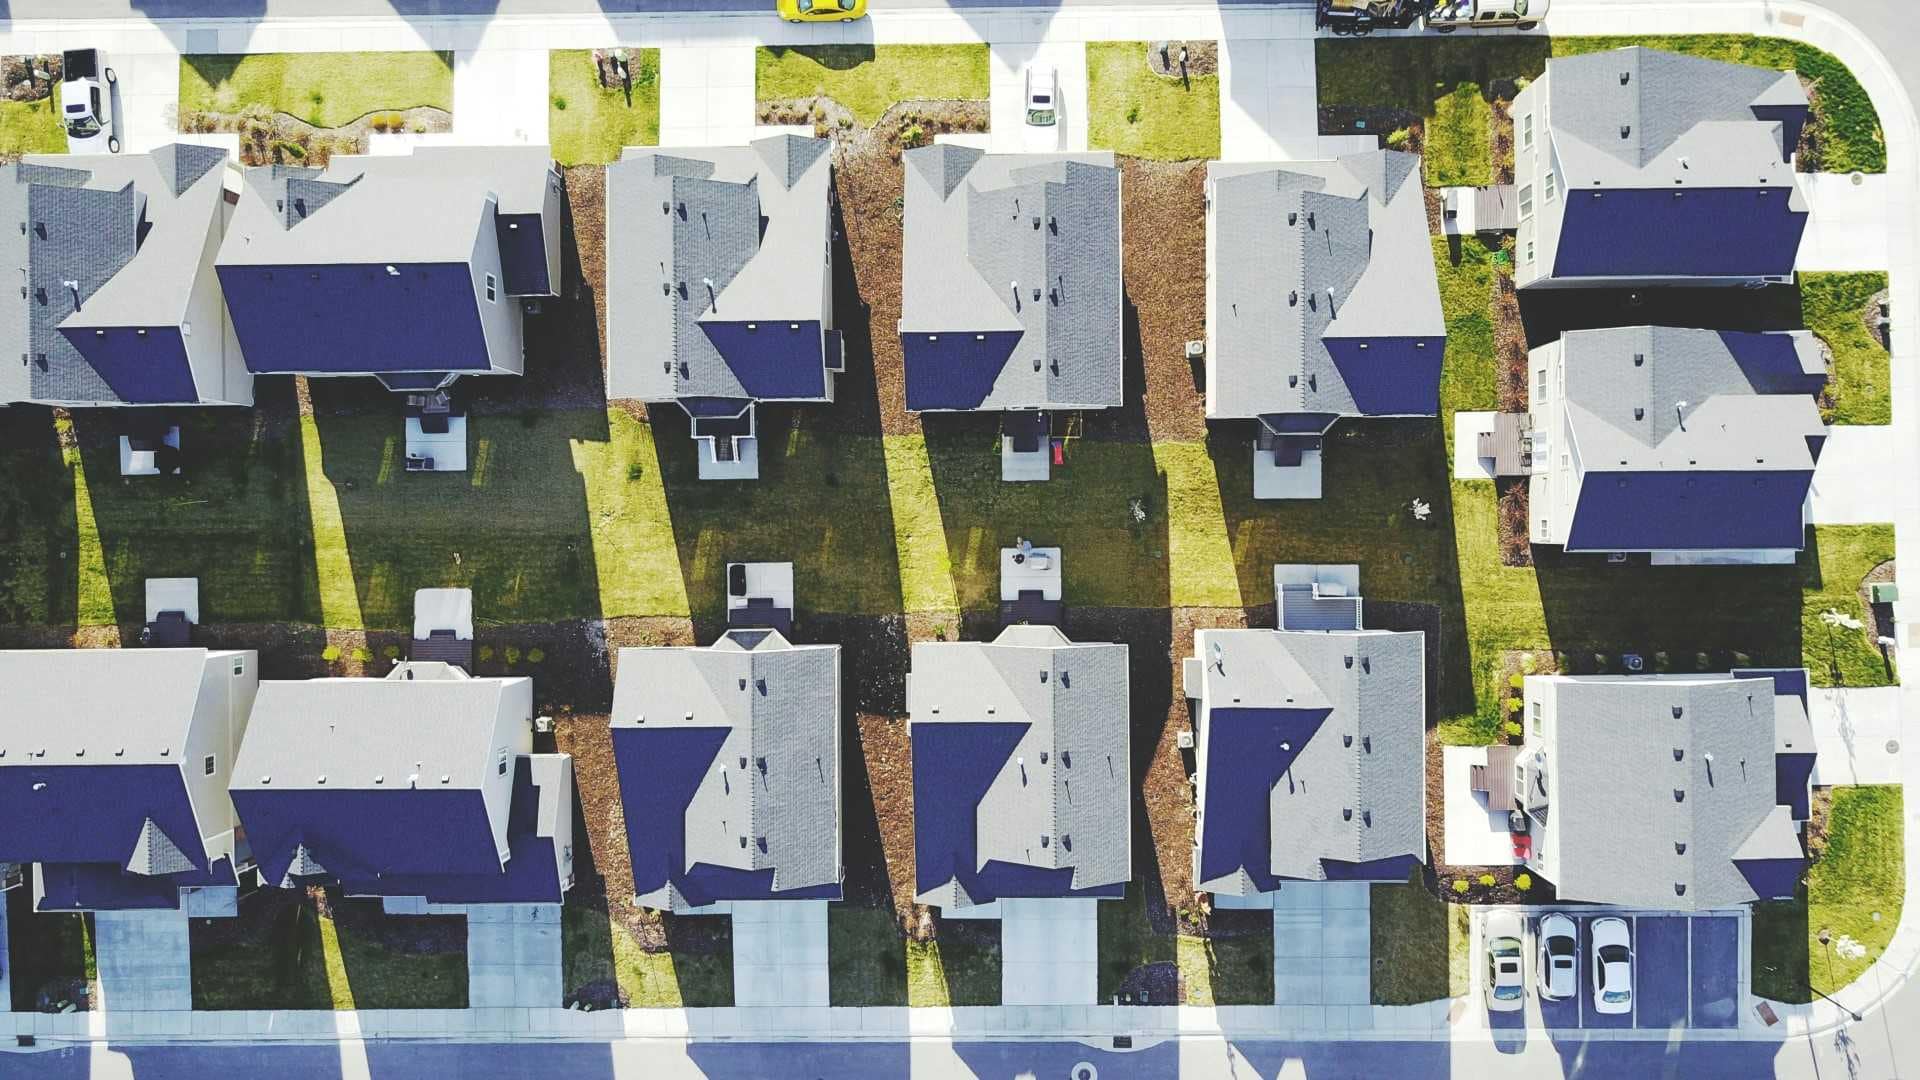
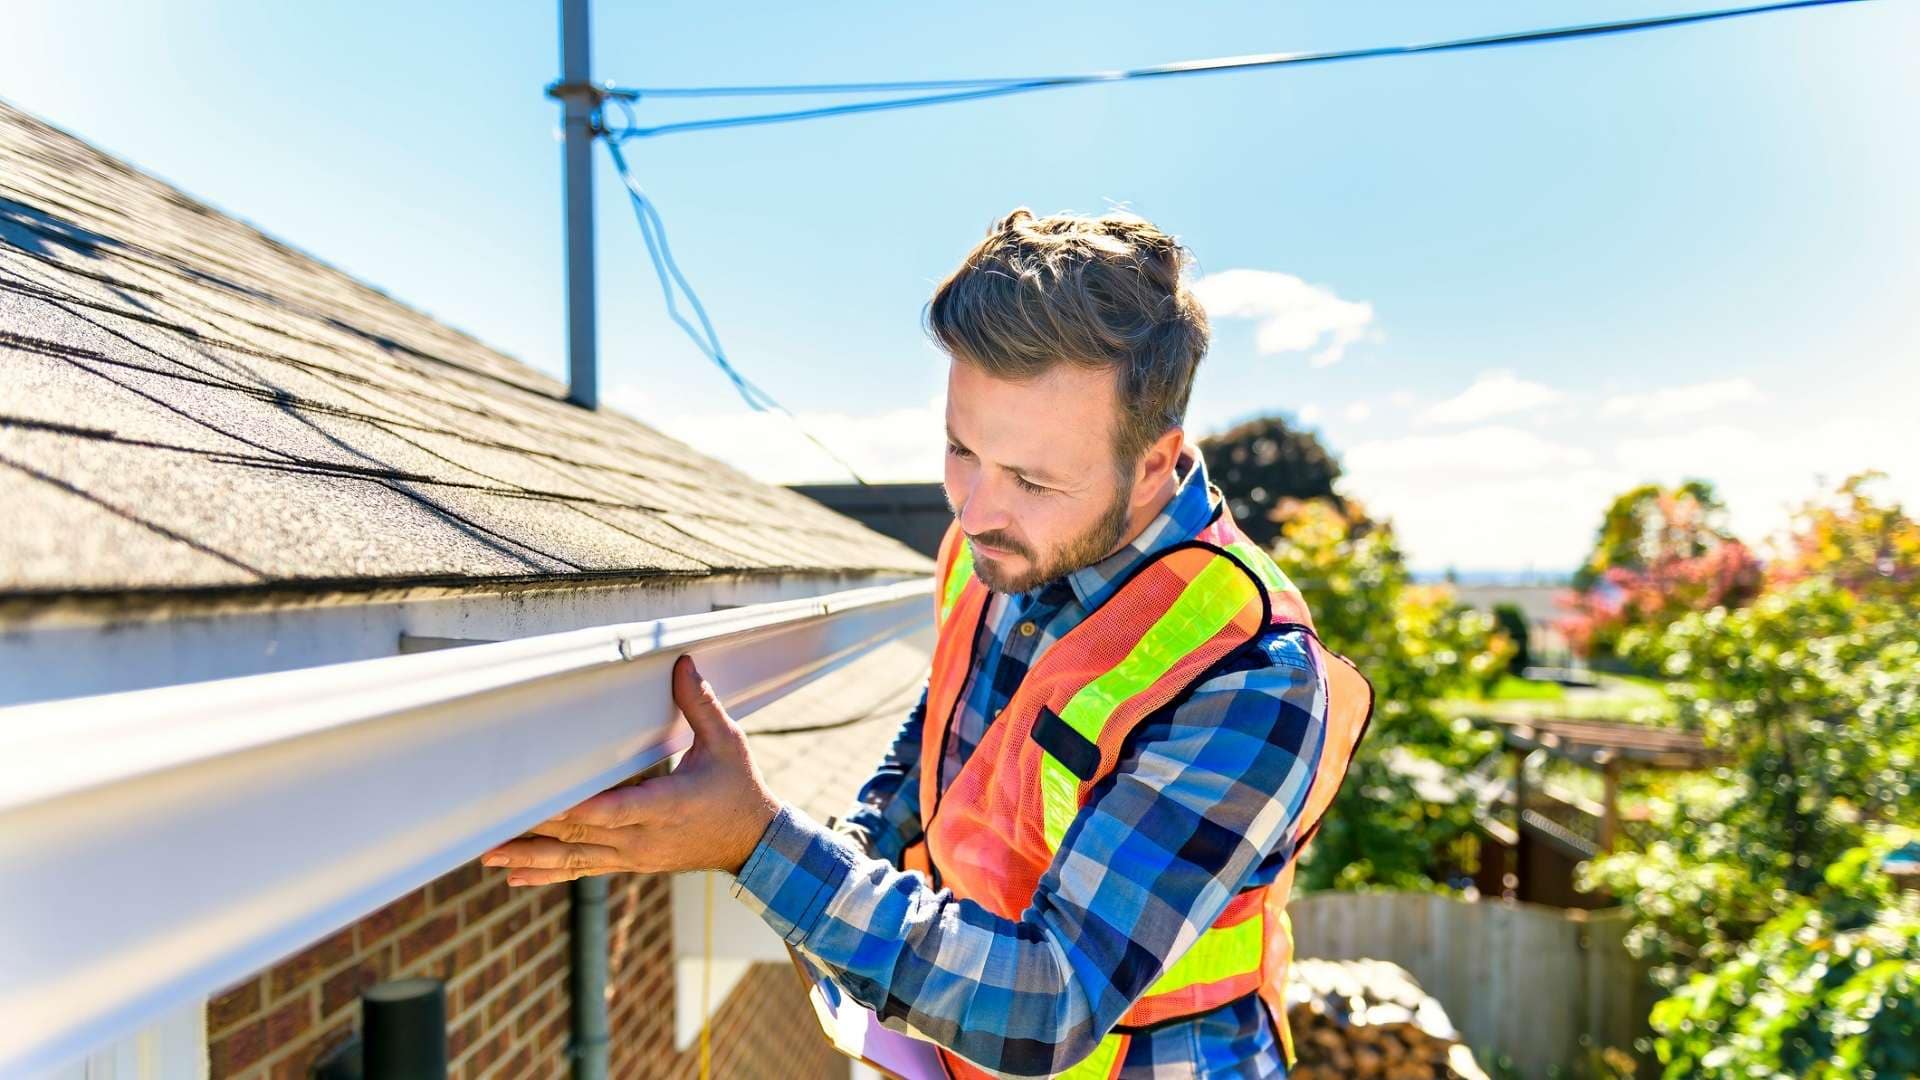
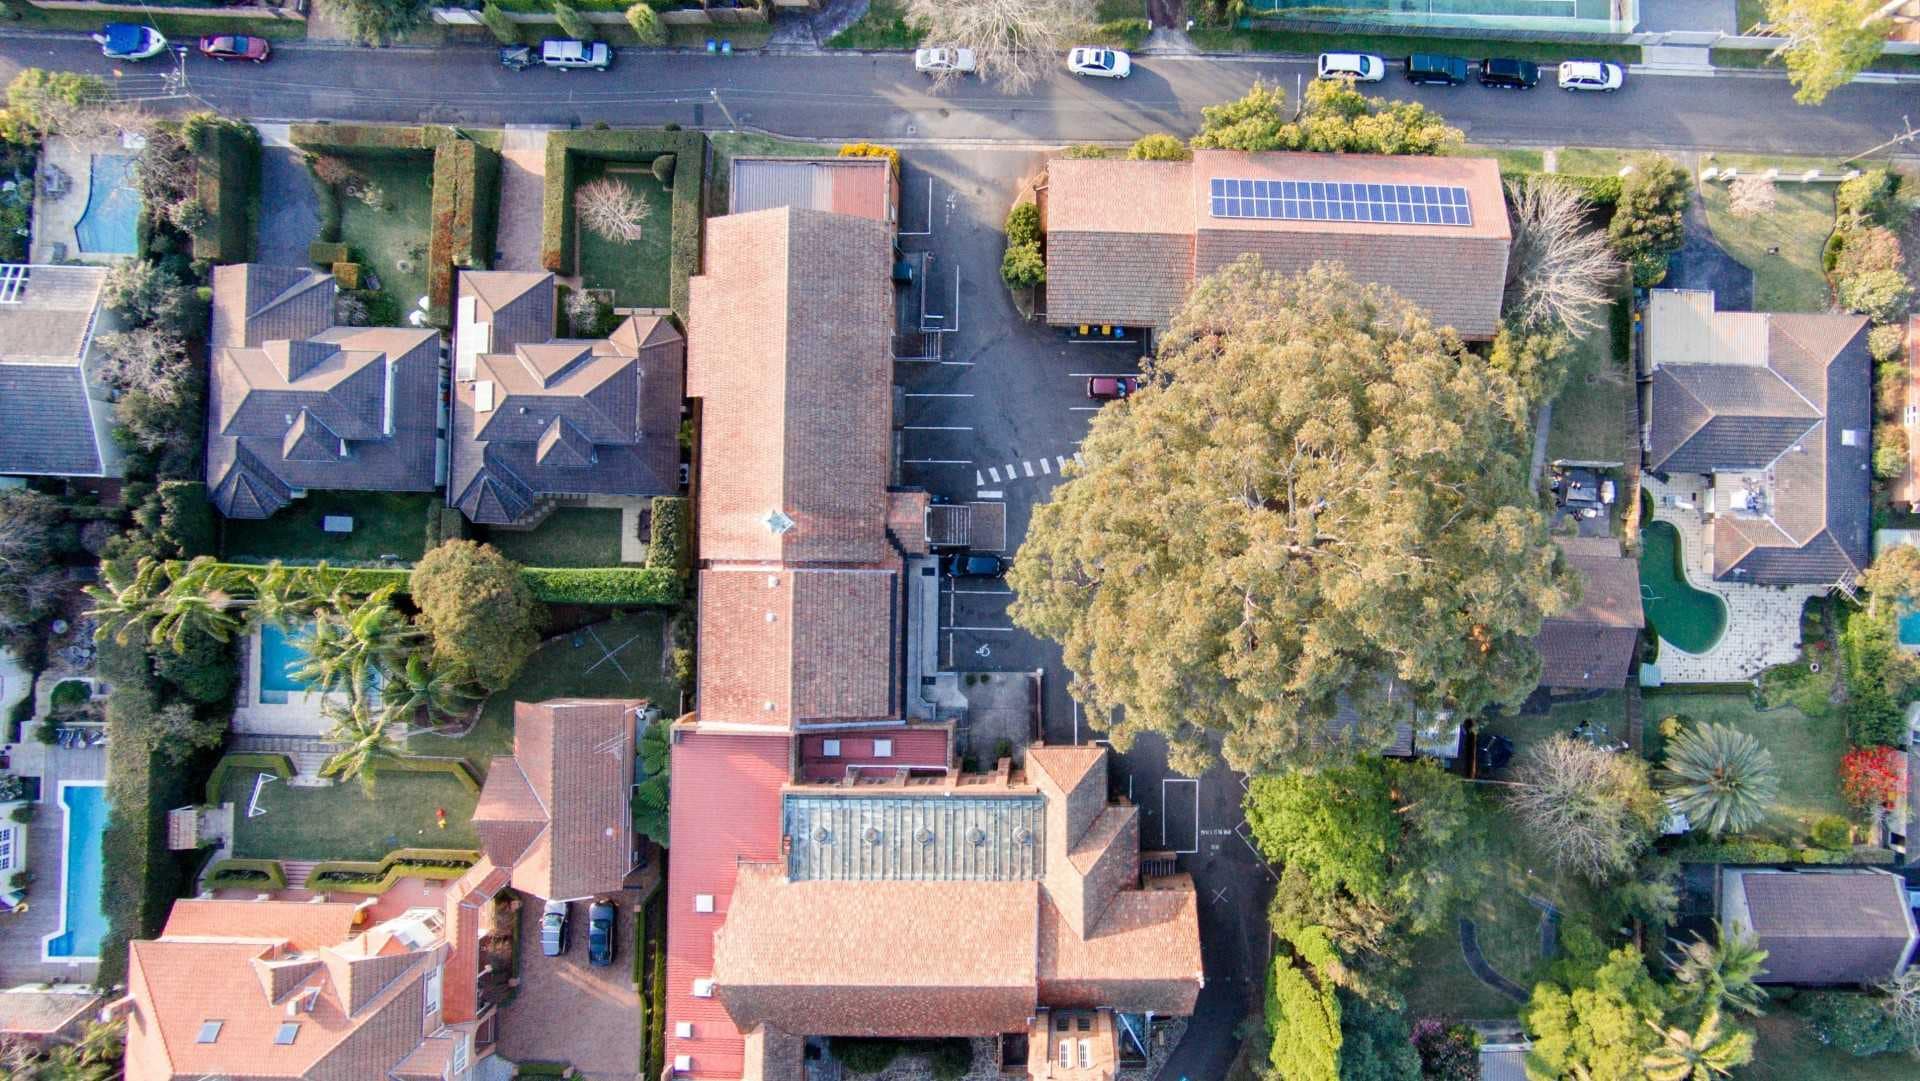
- Accurate Roof Size & Cost Estimates: By simply typing in your address, our tool estimates your roof size and gives you a ballpark cost for multiple roofing materials - like asphalt, metal, or tile.
- Compare Contractors in Your Area: Once you get that initial price, you can see up to three local roofing contractors, complete with their ratings and real customer reviews.
- Transparent Pricing: No more guessing games. We show you straightforward estimates so you can quickly compare options and decide which contractor is the best fit for your budget.
By centralizing all this information in one place, we aim to take the stress out of hiring a roofer. You see your approximate roof size, compare costs by material, and then browse vetted contractors, all without jumping from website to website or making endless phone calls. With Instant Roofer, finding the right roofing contractor becomes a whole lot simpler (and faster) than you might expect.
Try Instant Roofer Today!
Roofing Warranties and What They Cover
You’d be surprised how much warranties can vary, from basic coverage on materials to more robust plans that also cover labor and installation errors. Here’s a quick rundown of what to watch for:
- Manufacturer Warranties
- Material Coverage: These typically focus on defects in the shingles themselves, like premature cracking or granule loss. If something goes wrong because of a flawed batch of shingles, the manufacturer might cover the cost of replacement materials.
- Pro-Rated vs. Non-Pro-Rated: In the early years, you may get non-pro-rated coverage, meaning full protection. As time passes, it often switches to pro-rated, reducing the payout based on the roof’s age.
- Workmanship Warranties
- Contractor Backed: Your roofer may offer a warranty for any mistakes made during installation. This coverage can last anywhere from a year to a lifetime, depending on the contractor.
- What It Doesn’t Cover: Keep in mind that issues unrelated to installation, like storm damage, typically aren’t included.
- Extended or Upgraded Coverage
- Some manufacturers provide premium warranties that bundle both materials and workmanship for an extended period. These usually require certified contractors to install the roof and might cost extra, but they can offer significant peace of mind.
Before signing on the dotted line, take a little time to review each warranty’s fine print. Make sure you understand who’s responsible for repairs, whether labor is included, and what might void your coverage (like failing to maintain the roof properly). A roofing warranty can be a real lifesaver if something goes awry, so it’s well worth making sure you know exactly what you’re getting.
What to do After Your Roof Replacement
Here are a few steps I recommend once your new roof is in place:
- Register Warranties and Keep Records
Make sure you file any manufacturer and workmanship warranties right away. Keep all paperwork in a safe place, along with your contract and final invoice. If there’s ever an issue, you’ll want these documents at your fingertips. - Schedule a Final Inspection
Even if your contractor has given you the thumbs up, don’t be shy about requesting a final walkthrough. Double-check areas around vents, chimneys, and flashing for any gaps or missed spots. A quick once-over can prevent minor errors from turning into bigger headaches later on. - Clear the Surrounding Area
Roof replacements can leave behind stray nails or debris in gutters and yards. Do a quick cleanup to make sure your gutters are free-flowing and your lawn is safe for kids or pets. - Plan for Routine Maintenance
A new roof doesn’t mean zero upkeep. Schedule periodic inspections, especially after big storms and keep up with gutter cleaning. Small, consistent efforts can extend your roof’s lifespan and help catch problems before they escalate. - Document the Upgrade
If you’re thinking about selling your home down the road, having proof of a recent roof replacement can be a selling point. Keep your receipts, warranties, and photos of the finished project ready to show prospective buyers.
By taking these steps, you’ll not only protect your new roof but also get the most out of your investment. It’s all about staying proactive, even after the last shingle has been nailed in place.

Taking Care of Your New Roof
Here are some tips I’ve picked up:
- Regular Inspections: It’s a good idea to visually check your roof at least twice a year, especially after major storms. Keep an eye out for loose or missing shingles, small cracks, or any debris that might’ve landed up there. Catching minor damage early often prevents bigger (and more expensive) issues later on.
- Gutter Maintenance: Clogged gutters can lead to water backing up under your shingles, which is a quick recipe for leaks. I make it a habit to clear leaves and debris at least once in the fall and once in the spring. If you’re not comfortable on a ladder, consider hiring a professional, your roof and foundation will thank you.
- Trim Overhanging Branches: Tree limbs that scrape against your roof can wear away shingles over time. Branches can also snap off during storms and cause direct damage. Keeping them trimmed back not only protects your new roof, but it also helps with general yard safety.
- Mind Attic Ventilation: While you may not connect your attic to roof health, proper ventilation is crucial. Excess heat and moisture trapped in the attic can warp shingles from underneath. If you’re seeing signs of mold or unusually high attic temperatures, it might be time to improve air circulation.
- Stay on Top of Repairs: If you do spot damage, like a small leak or a missing shingle, take care of it right away. Quick fixes now help avoid larger (and pricier) problems in the future.
By giving your new roof a little ongoing attention, you’ll not only help maintain its curb appeal but also make sure it performs at its best for years to come.
Conclusion
Replacing a roof is a big decision and if you’ve made it all the way through these basics, you’re already ahead of the game. From spotting the first signs of trouble to nailing down the right contractor, each step in the process can feel overwhelming. That’s why we created Instant Roofer in the first place: to make this experience simpler, faster, and way less stressful.
Here’s the bottom line:
- We value your privacy. We won’t flood your inbox with endless messages or sell your information.
- You’re in control. You decide if, or when, you want to speak with any of the recommended contractors, and we only share your details with the contractors you pick.
- It’s easy. Our online tools and free data give you an instant cost estimate and real insights into the size and scope of your project, no guesswork needed.
At the end of the day, a new roof isn’t just about shingles or metal panels; it’s about safeguarding your home and your peace of mind. If you’re ready to take the next step, check out our roof replacement cost calculator to see how seamless (and surprisingly simple) the process can be. We’re here to help you find the best options for your home without any hassles, and that’s a promise.

Get Your Free Instant Roof Estimate Today!