
Learn how to build roof trusses with our guide. From understanding different truss types to planning, measuring, and assembling, we cover everything you need to know for a successful and sturdy roof truss construction.
Table of contents
Understanding Roof Trusses
To start, it's essential to understand what roof trusses are and the different types available. This knowledge will help you choose the right truss design for your project.
What is a Roof Truss?

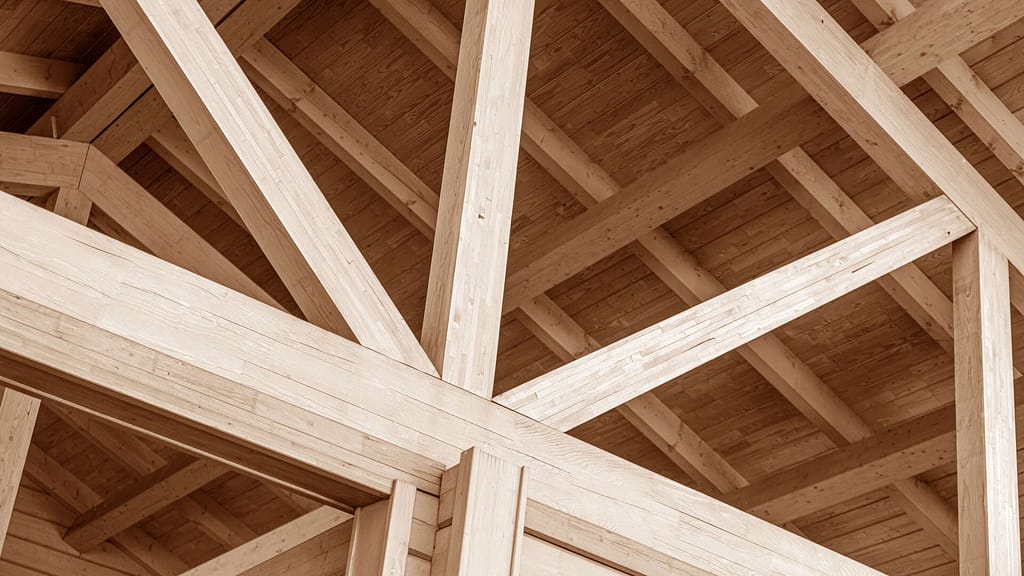
A roof truss is a structural framework designed to support a roof. It distributes the weight of the roof and any loads it carries, such as snow or wind, across the walls of the building. Roof trusses are crucial for ensuring the stability and integrity of a roof structure.
There are various types of roof trusses, each serving different purposes and offering different levels of support. The Fink truss is a popular choice for residential buildings due to its simple design and strong support. It features a "W" shape in its internal structure, providing excellent stability.
Preparation Before Building
Before you begin the actual construction, proper preparation is key. This includes understanding local regulations and gathering all the necessary tools and materials.
Consult Local Building Codes
Before you start building your roof trusses, it's essential to consult your local building codes. These codes will provide you with the minimum height requirements for your roof, ensuring that your structure meets safety and regulatory standards. According to the 2018 International Residential Code (IRC), wood trusses must be designed following accepted engineering practices.
Gather Necessary Tools and Materials
To build roof trusses, you will need the following tools and materials:
- Measuring tape
- Pencil and paper
- Circular saw
- Jigsaw
- Triangle square
- Clamps
- Construction adhesive
- Putty knife
- Screws
- Plywood or steel gusset plates
- Lumber
Measuring and Planning
Accurate measurements and careful planning are crucial for building roof trusses. This section will guide you through the process of measuring your building and determining the necessary dimensions for your trusses.
Measure the Building
Start by measuring the width of the building that the truss will span. This measurement will help you determine the length of the bottom chord of the truss.
Determine Roof Height
Next, decide on the height of the roof. This will influence the length of the top chords and the overall slope of the roof.
Calculate Truss Dimensions
Using the measurements of the building's width and the desired roof height, calculate the lengths of the three main chords that form the truss triangle. The bottom chord should be the width of the building plus 0.25 inches and the two top chords should meet in the middle to form the peak of the roof gable.
Additionally, calculate the lengths needed for the four internal joists that will form the "W" shape bracing the truss internally.
Designing the Truss
Designing your truss is a crucial step that involves creating a detailed plan to follow during construction. This section covers how to draw your truss and choose the appropriate gusset plates.
Create a Detailed Sketch
Draw a detailed sketch of the truss design on graph paper, or use architectural software to create a precise diagram. This sketch will serve as your blueprint during the building process.
Gusset Plates
Check your local building codes to determine if you can use homemade plywood gusset plates or if you need to use factory-made steel gusset plates. Gusset plates are essential for reinforcing the joints where the chords and joists connect.
Building the Truss
Now that you have your plan, it's time to start building. This section will guide you through cutting the lumber, assembling the truss, and applying adhesive and gusset plates.
Cutting the Lumber
Arrange your lumber on a flat surface. Use a triangle square to mark cut lines on the lumber, ensuring accuracy in your measurements. Clamp your first board to a table or across sawhorses and cut the pieces with a jigsaw.
Assembling the Truss
Lay out the chords and internal joists on the ground to form your first truss. Ensure all pieces fit together properly before proceeding.
Applying Adhesive and Gusset Plates
Spread construction adhesive on the joints using a putty knife, then glue all pieces together. Once the glue has set, brace all joints by attaching the gusset plates. For plywood gussets, glue them first and then drive screws into the wood. For steel gussets, glue them and drive screws through the pre-drilled holes in the metal.
Final Steps
Once the truss is assembled, a few final steps are necessary to ensure its stability and safety. This section covers the curing process and final checks.
- Curing the Truss: Allowing the truss to cure properly is essential for its structural integrity. After you have glued and screwed all the joints, let the truss sit undisturbed overnight. This curing period ensures that the adhesive sets completely and the connections are solid.
- Inspecting the Truss: Once the truss has cured, inspect it thoroughly. Check all joints to make sure the adhesive has set properly and that there are no gaps or weaknesses. Ensure that all screws are tight and that the gusset plates are firmly in place.
- Reinforcing the Truss: For additional stability, consider adding extra bracing or reinforcement, especially if the truss will support a heavy load or be exposed to extreme weather conditions. This can include diagonal bracing or additional gusset plates at key stress points.
- Preparing for Installation: Before installing the truss, make sure the site is prepared. This includes ensuring that the walls are level and that there is a secure place to anchor the truss. Double-check all measurements and make any necessary adjustments.
Conclusion
Building roof trusses takes careful planning, accurate measurements, and attention to detail. Whether you’re working on a small home or a bigger project, this guide will help you build sturdy roof trusses. Remember, safety and detail are key. Make sure the trusses cure properly, check all joints, and add extra bracing if needed. If you’re unsure at any step, it’s best to ask a professional. With the right steps, building roof trusses can be a satisfying and successful project.
After building your roof trusses, our roofing calculator is the perfect tool to estimate the materials needed for your roofing project. With just a click, you get accurate estimates for bundles, rolls, and felt, sent directly to your email in an easy-to-read format. Additionally, Instant Roofer makes it simple to find and connect with top-rated roofers nearby, saving you both time and effort. Happy building!
Fact checked by Adrian Catolico - 7/9/2024